How to get great results out of bopGPT.
Short guide. Read the first three sections: Welcome, Models, Prompting, and you'll cover 90% of what matters.
Welcome
The 30-second version
bopGPT generates photos and short videos that look like a person you train it on. You upload reference photos to create a model, write a short prompt, and pick a couple of settings. We do the rest.
Two things drive output quality more than anything else: the photos you used to build the model, and how you prompt. Both are covered in the next two sections. Read those if you skip the rest.
Models
Unlimited
Per shoot
1–4 images
Video length
3–30s
Building a Model
Photos make or break the result
Output is only as good as the source photos. A model trained on 8 sharp, varied images will out-generate one trained on 30 mediocre ones. Every time.
4 photos, max. The recommended mix is 2 Face, 1 Body, 1 Full. That covers what the model needs without diluting the signal.
What each tag is for
When you upload a photo, you tag it. Each tag does a different job. Stick to the recommended counts and you're set.
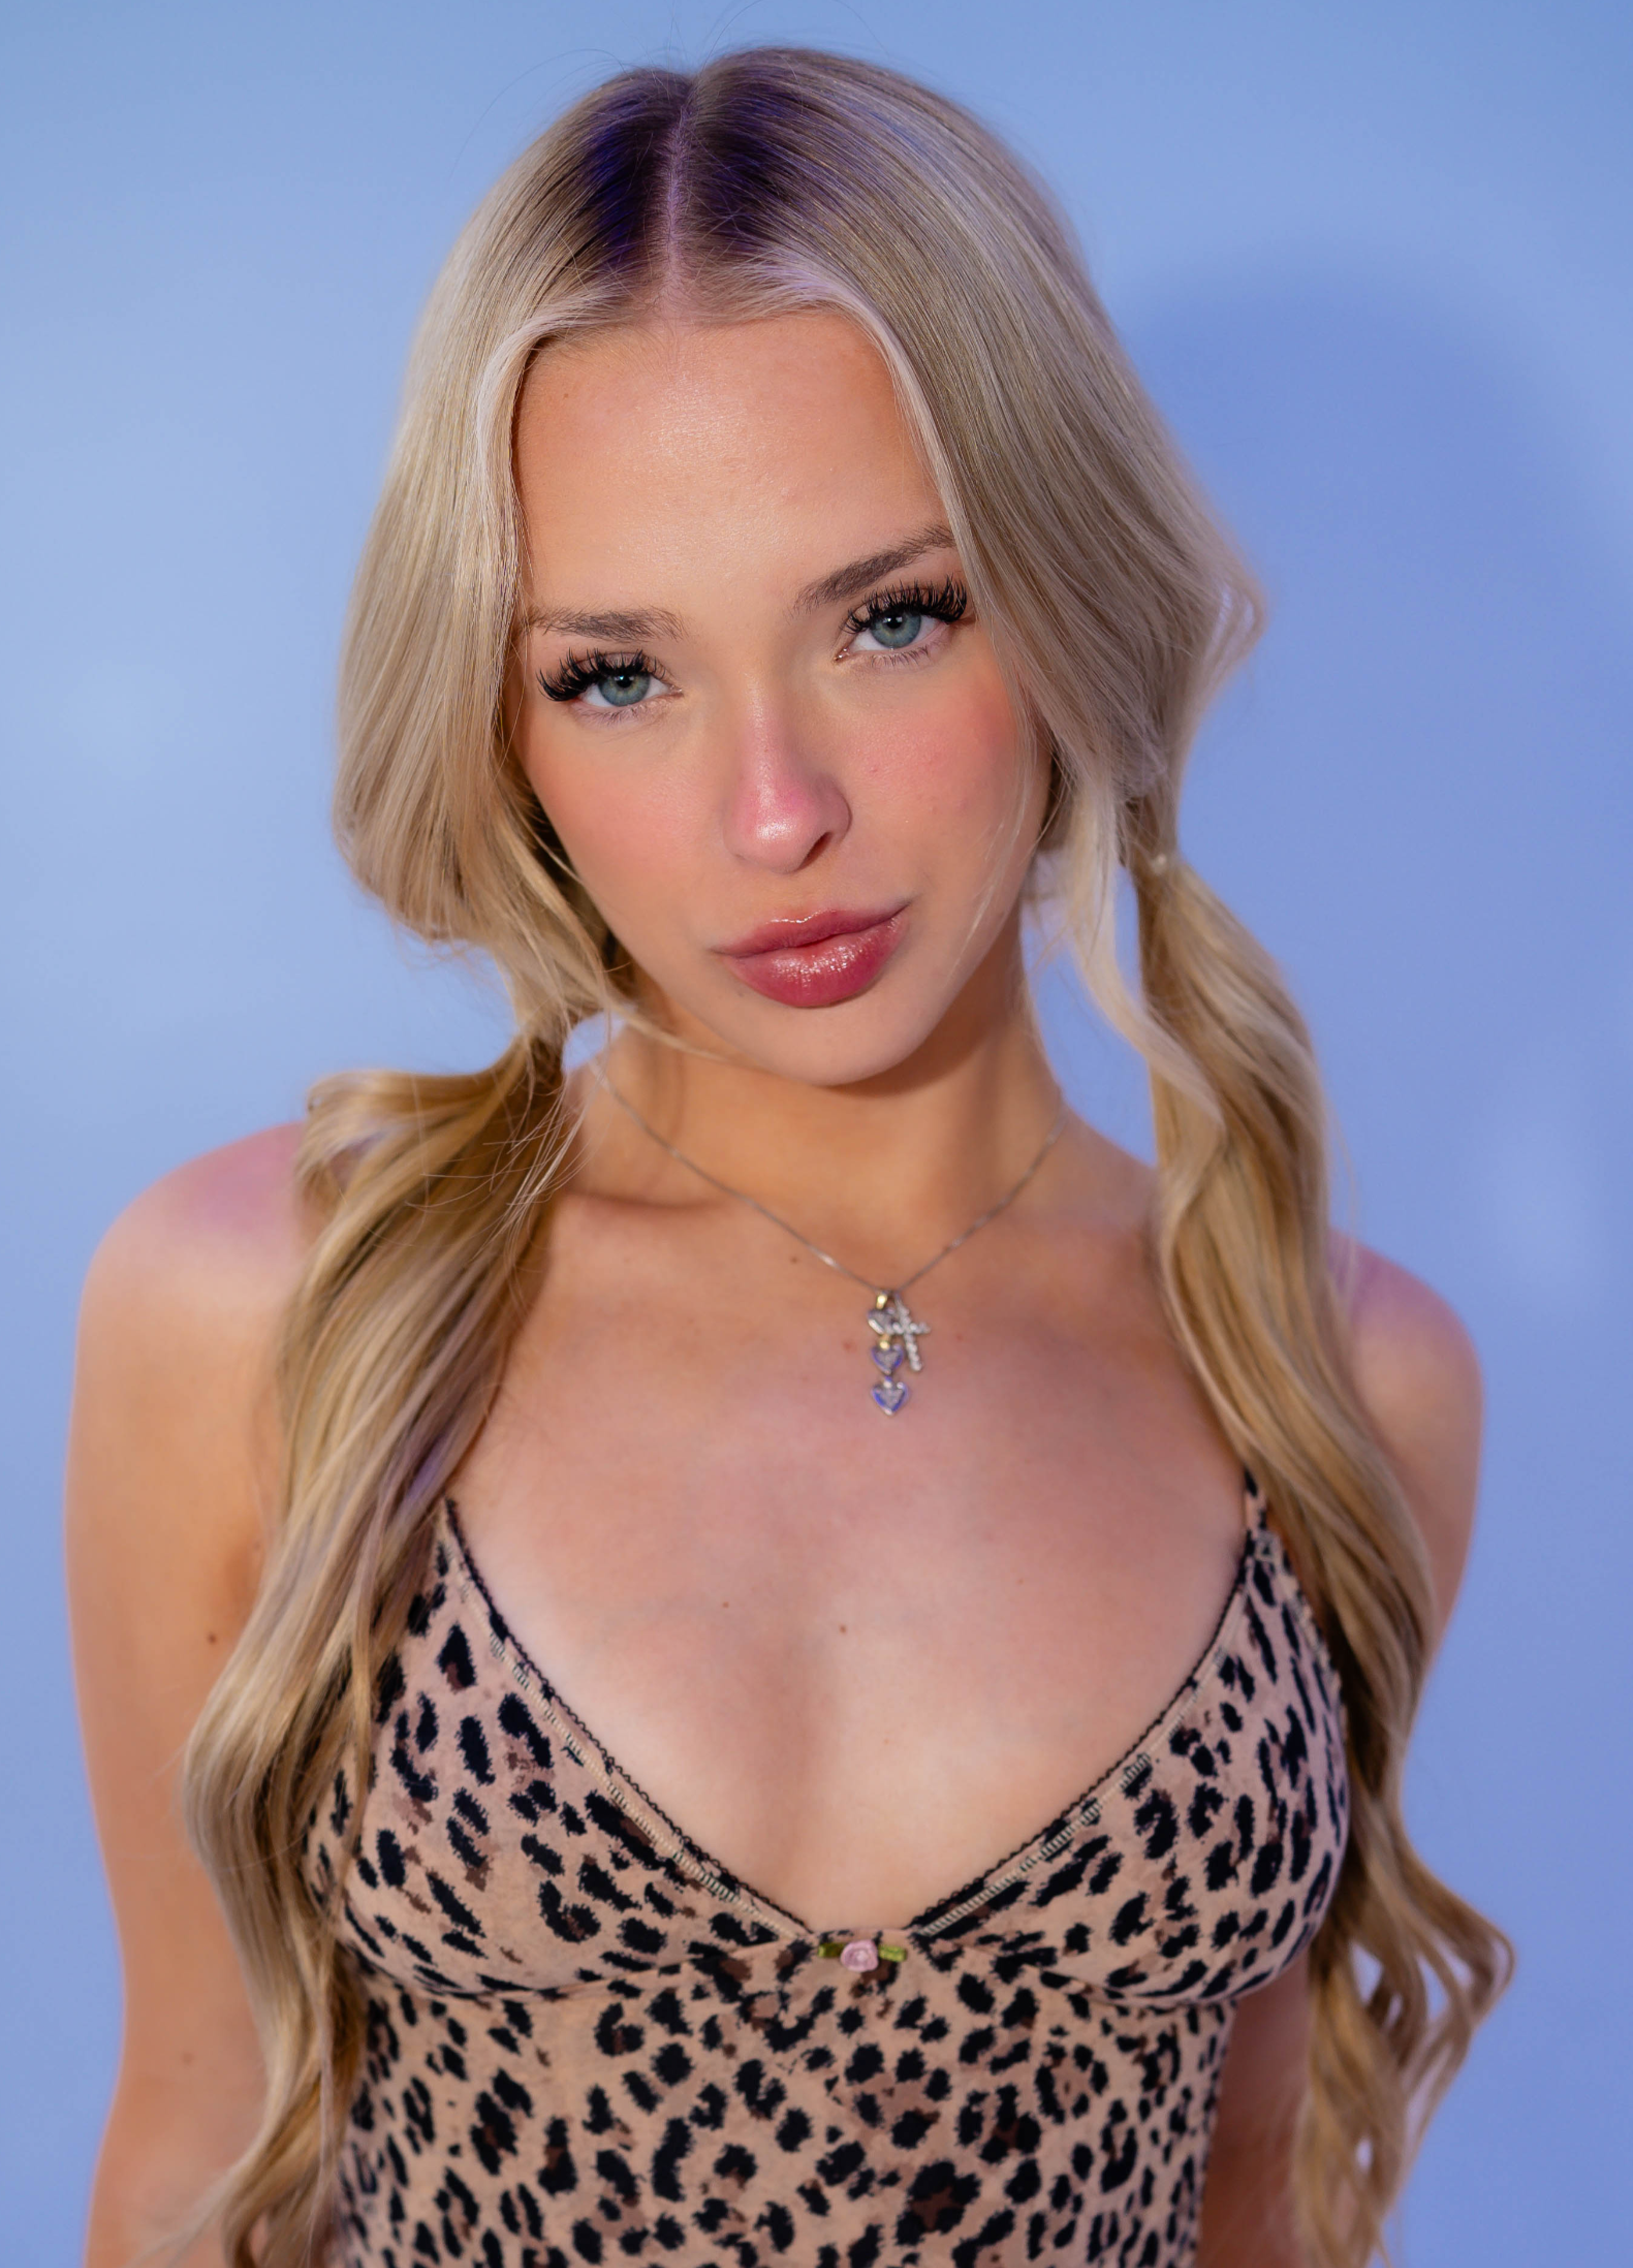
Close-up. Sharp eyes, neutral expression, no obstructions. Good lighting (window light works). The most important set. Pick your best two.
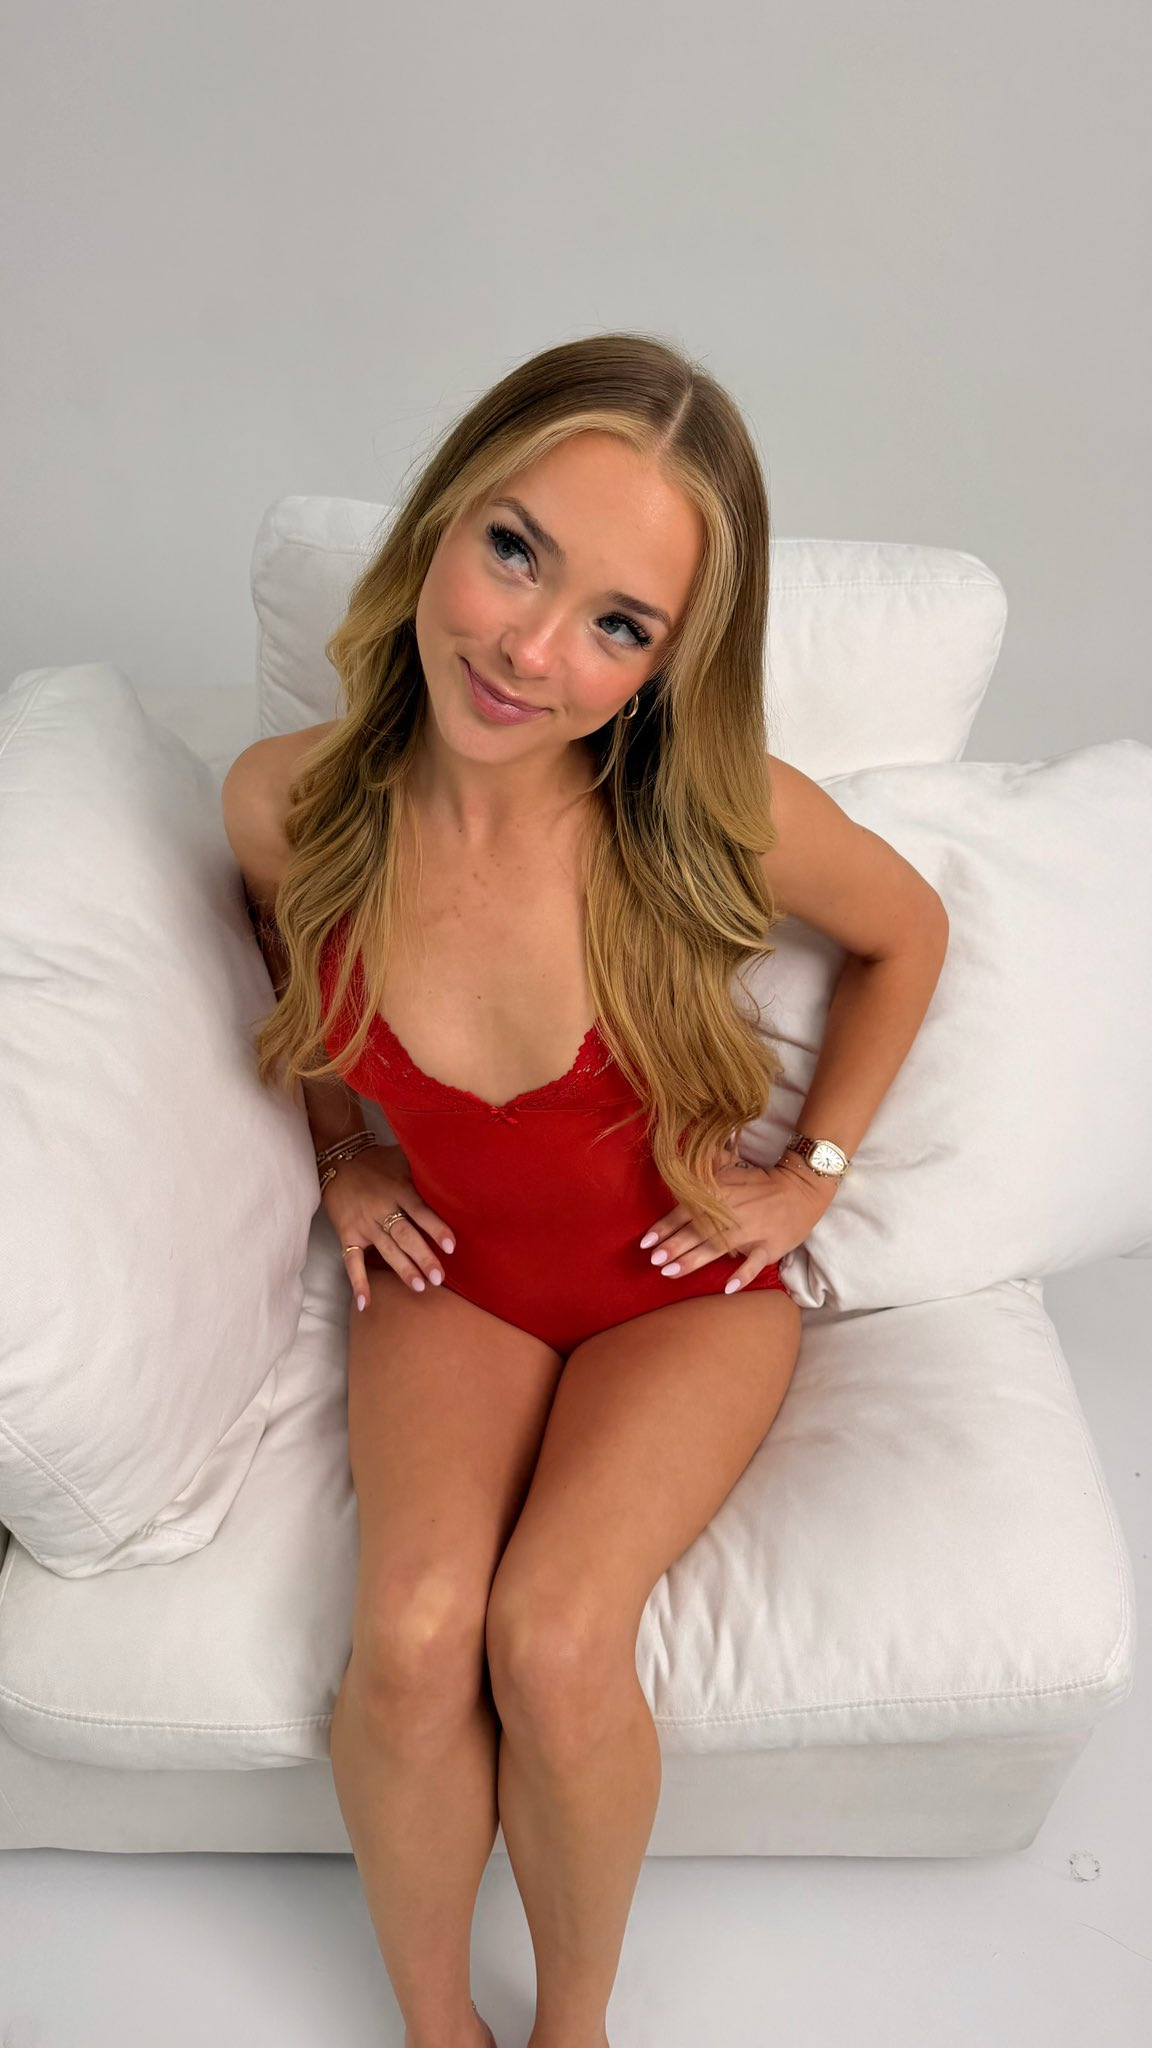
Torso and shoulders visible. Outfit clearly readable.
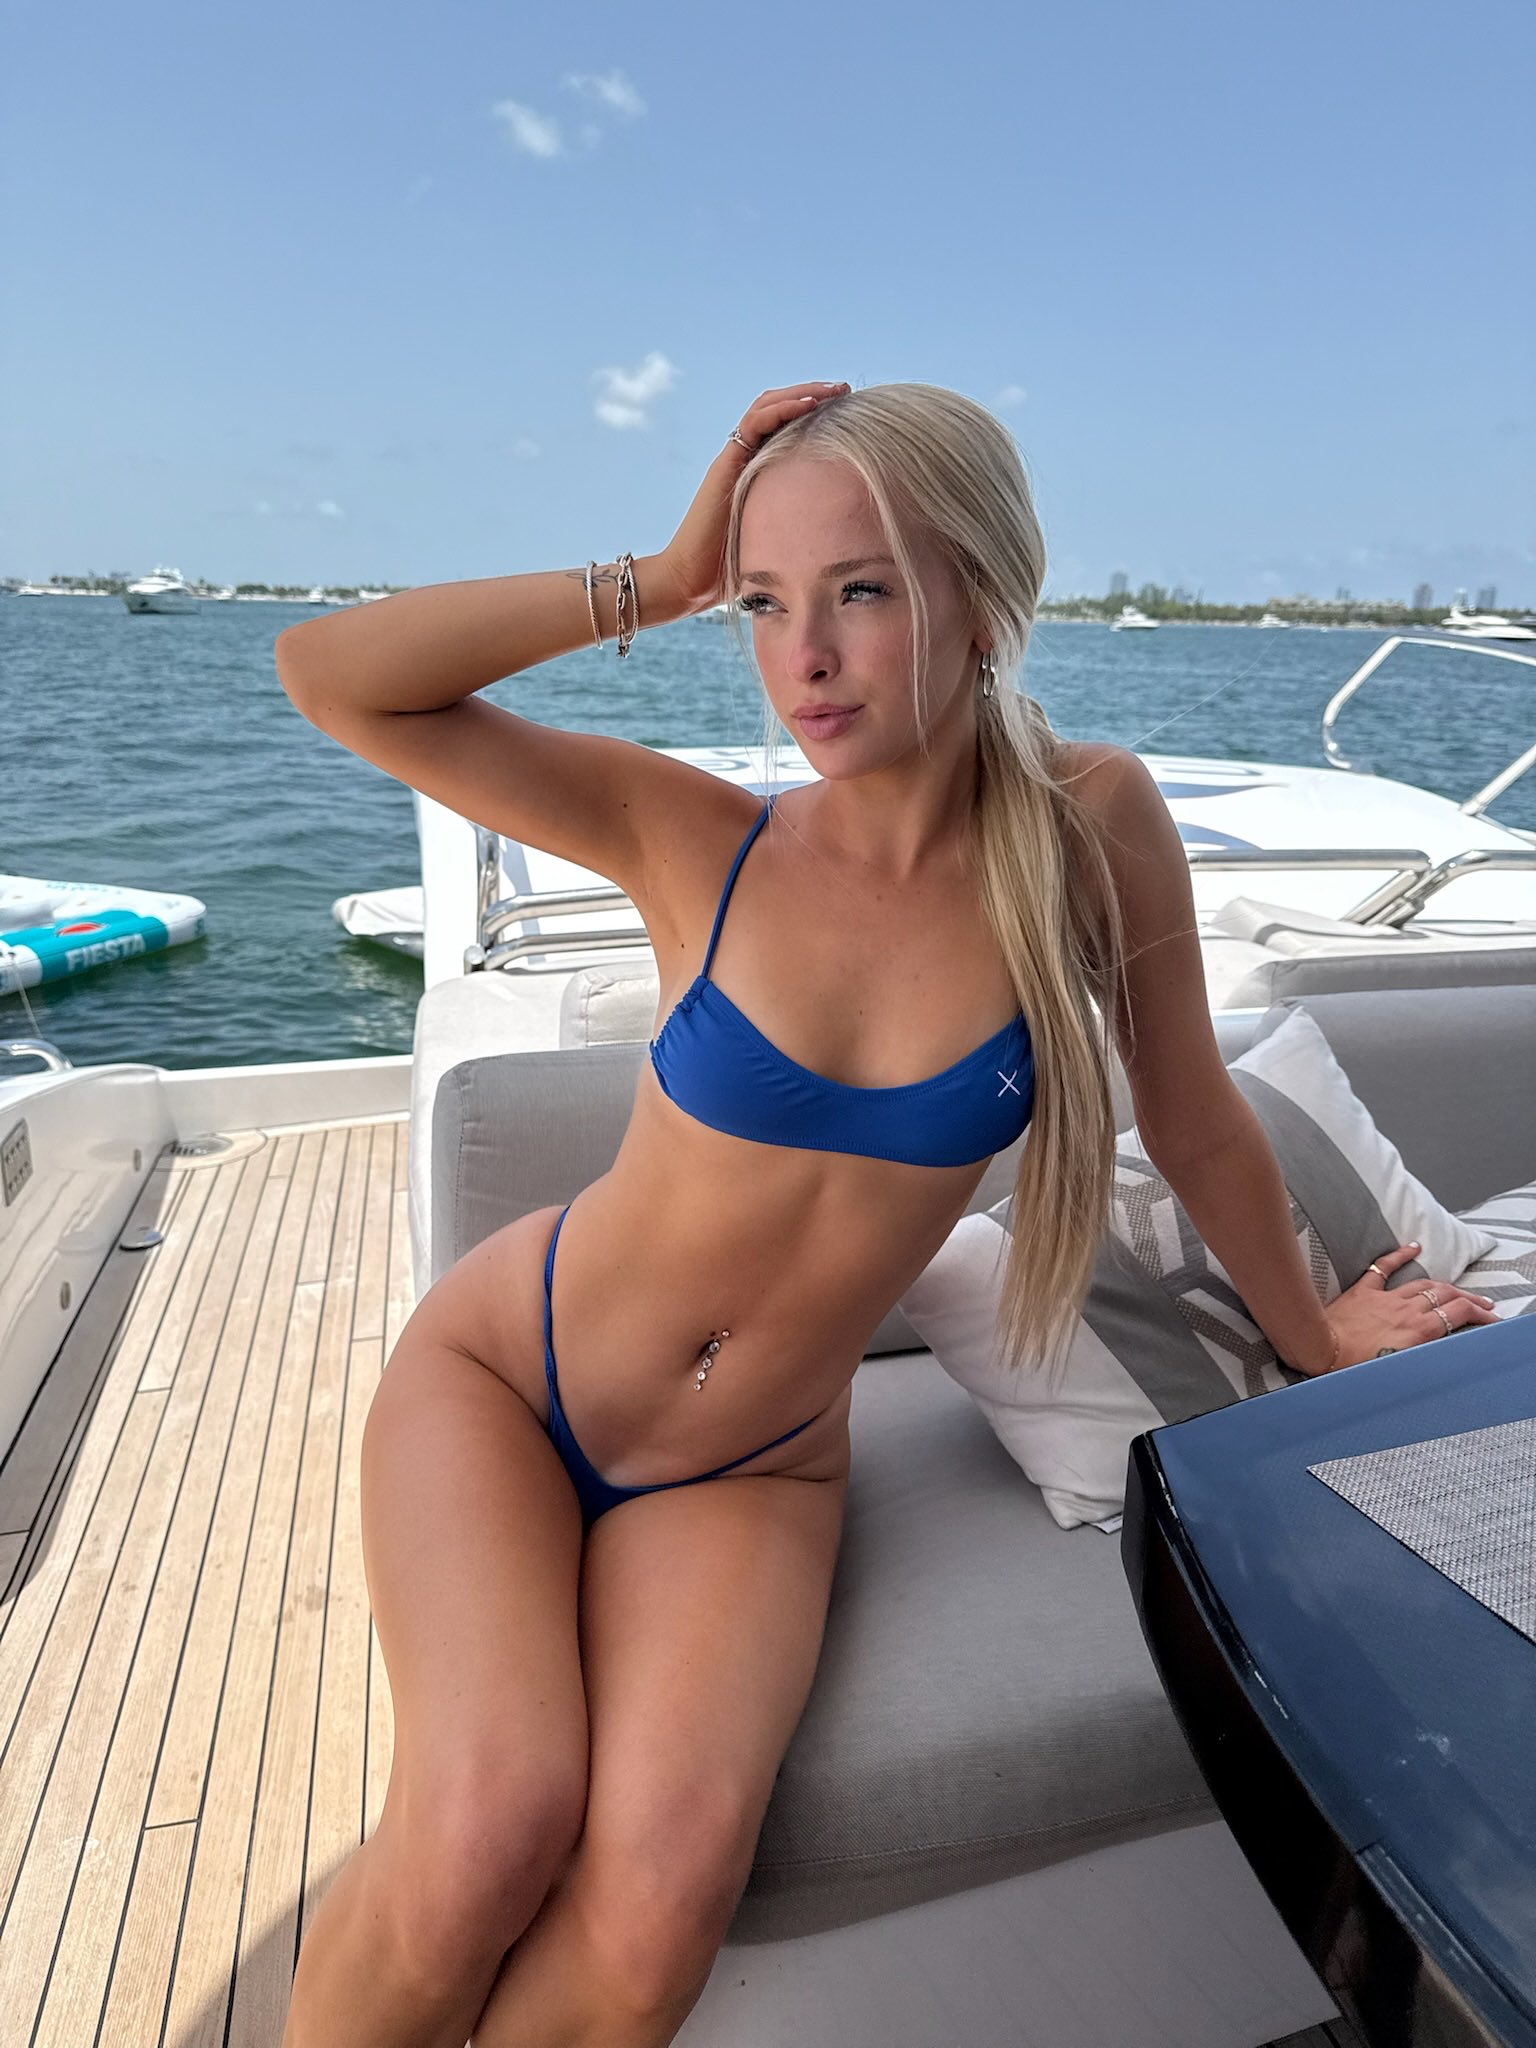
Head to toe. Pick a clean, well-lit standing pose.
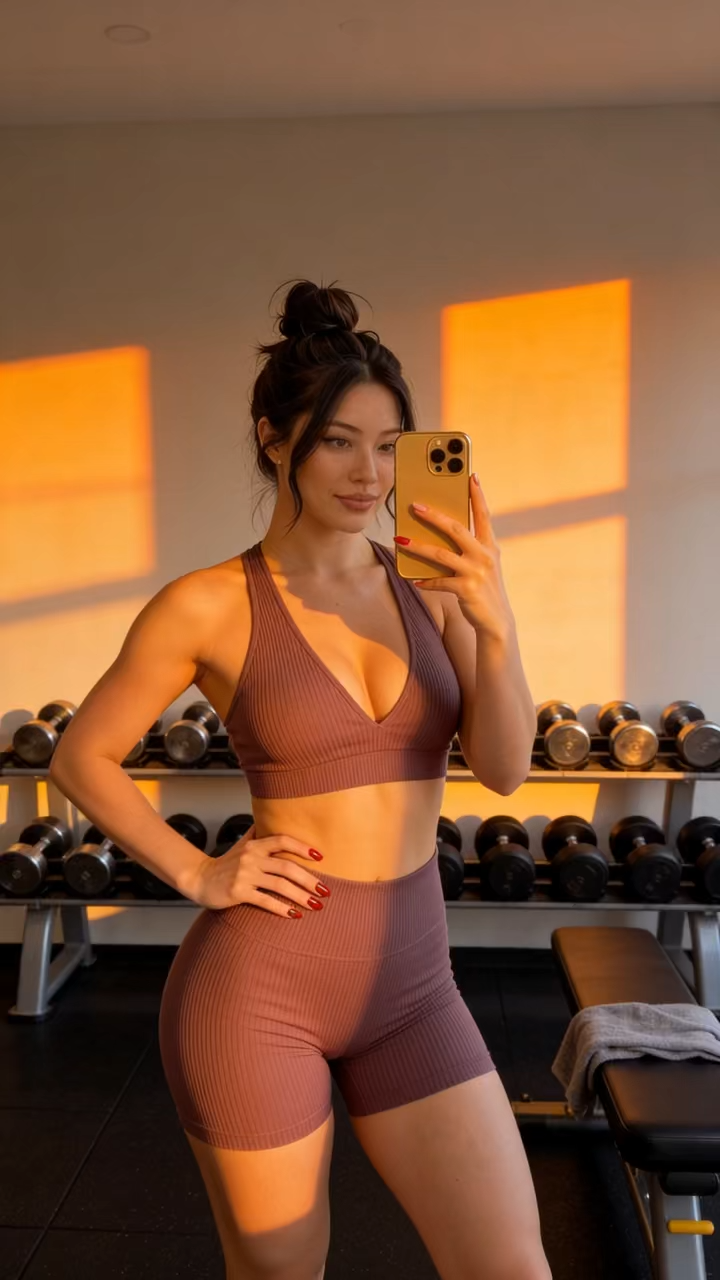
Lifestyle / context shot. Only use if you have a slot left over and the photo adds something Face/Body/Full doesn't already cover.
Real examples
Photos like these. Crisp, well-lit, framed correctly for each tag.
What to avoid
- Sunglasses, hats covering the face, heavy makeup filters.
- Group shots where the subject is small in the frame.
- Resolution under 1024px on the short side.
- Motion blur or out-of-focus photos.
- Two near-identical Face photos. They count as one.
Editing later
Open any model, add or remove photos, save. The next generation uses the updated set. No re-training step on your end.
Prompting
Prompt simply. Seriously.
Your prompt gets rewritten and enriched on our side before it reaches the model. We add framing, lighting, lens, and style cues based on the camera and angle settings you picked. When you stack your own jargon on top, it usually fights our enhancer instead of helping it.
Write a short, plain sentence. Subject + setting. That's it.
Good vs over-engineered
Three rules that cover 90% of cases
Subject + setting + (optional) action.
That's the formula. “at the gym”, “walking on the beach”, “in a kitchen making coffee”.
Don't describe the model's appearance.
We already know what they look like. Telling us “long brown hair, blue eyes” will only confuse it.
One scene per prompt.
Don't chain “and then she walks out and…”. Generate it as a separate prompt.
If you're not getting what you want
- Try the other AI Engine (A vs B). Same prompt, different look.
- Switch the camera (iPhone vs Professional) or angle. These swap out our enhancer's style preset entirely.
- Generate 4 at a time instead of 1. The variation between them will tell you which direction to push the prompt.
- If faces look off, the model probably needs more close-up Face photos. Add 2–3 sharp ones and try again.
Image Settings
What the picker cards do
Mode
Camera
Angle
Images
AI Engine A vs B
Two different AI engines, not newer vs older. Each has its own look. Try both on the same prompt; one will land closer to the model on any given shot. Switching engines costs the same as switching camera or angle: nothing extra.
Image to Video
One still image, animated
Upload a start image and we'll animate it for 5–15 seconds. Optionally provide an end image to control where the clip lands.
What to upload
- A clean, sharp still. Phone photos of a real person work great.
- Generated images from your model also work. Pick one you like from the Gallery.
- Avoid images with multiple people in the frame. The model will pick one and the others will glitch.
Prompting for video
Describe the motion, not the appearance.
Settings
Duration
Longer clips cost more credits and take longer. Pick the shortest that captures the motion.
Generate Audio
Leave on unless you're adding your own track. The model picks ambient sound that fits.
Engine A vs B
Same idea as image generation. Different engines, not versions. Try both.
Motion Control
Copy motion from any video onto your model
Two inputs: a character image (your model) and a reference video (any clip: yours, a TikTok download, anything). The character image's appearance is preserved; the reference video's motion is applied.
Reference video
- 3–30 seconds. Anything outside this range gets rejected.
- Max 200MB. We compress on upload.
- One person in the frame. The motion you see is what you'll get.
Character image
- Sharp face, clear lighting. Same rules as model training.
- Use the Auto-select button. We pick the best match for you.
- Orientation has to match the start of the video. See below.
How to use it
Upload your reference video first.
Drop in any 3–30s clip with the motion you want copied. Look at the very first frame of the video before moving on.
Check the start frame's orientation.
Is the person facing the camera? Side profile? Three-quarter turn? Looking down? Whatever the first frame shows is what your character image needs to match.
Pick a character image in the same orientation.
Browse your model's gallery and pick the photo whose pose and angle line up with the video's first frame. Or hit Auto-select and we'll pick for you.
Add a prompt only if you need to.
Leave it blank and you'll usually get a solid result. Use it for wardrobe or scene tweaks.
Generate.
Pick Engine A or B and submit. If the first result doesn't land, swap engines and try again before changing the inputs.
What a matched pair looks like
The first frame of the reference video on the left, the character image on the right. Same body orientation, same general framing.
Why orientation matters
Match the orientation of your character image to the first frame of the reference video. The model uses your photo as the “before” pose and the video's motion as the path. If they don't line up, the first second of the clip will warp while the model snaps into the right pose.
Matches
Lines up cleanly. Motion tracks from frame one.
Doesn't match
Model has to rotate before the motion starts. Warps the first ~1s.
The prompt is optional
Unlike image generation, the prompt is a tiebreaker here, not the main signal. Leave it blank and you'll usually get a solid result. Use it to nudge style or wardrobe (“in a black dress”) or set the scene (“in a kitchen”).
Engine A vs B
Both take the same inputs. Try both. They're tuned differently. On any given clip, one will track the reference motion more closely than the other.
Presets
Save the prompts you keep retyping
Open the bookmark icon next to the prompt input. Save your current prompt and settings as a preset. Apply it next time with one tap.
Three siloed libraries
Image, Image-to-Video, and Motion Control each have their own preset library. Your image presets won't show up inside the video modal, and vice versa. The prompts don't translate between contexts anyway.
Image presets
Video presets
(both kinds)
Credits & Support
How credits work
Every generation costs credits. The exact cost is shown next to the send button before you submit, so there are no surprises.
Subscription credits
Reset at the start of each billing cycle. Use them or lose them.
Bonus credits
One-time top-ups never expire and are spent first, before subscription credits.
Out of credits mid-cycle?
Top up from the Billing page.
Something looks wrong
Bad output you'd like refunded, missing credits, or anything broken? Open a ticket from Support. Include the prompt and a link to the Gallery item if there is one. Faster context = faster fix.
Still stuck?
Reach out. We read every ticket.